On a Raspberry Pi
Pre-requisites
- A Raspberry Pi 3, 4 or 5
- A power supply (either an adapter or a USB cable) for your board;
- A microSD card: 16GB capacity (at least), class "A1" highly recommended (such as this SanDisk A1 card);
- An ethernet cable (RJ-45) to connect your server to your router.
- A reasonable ISP, preferably with a good and unlimited upstream bandwidth
- A computer to read this guide, flash the image and access your server.
Download the YunoHost image
If you wish to check the validity of our signed images, you can download our public key.
Flash the YunoHost image
Now that you downloaded the image of YunoHost, you should flash it on a microSD card
- With Etcher (recommended)
- With USBimager
- With dd
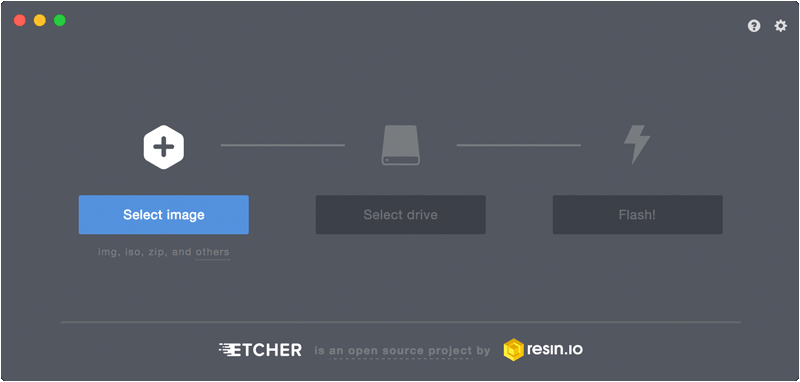
Download Etcher for your operating system and install it.
Plug your SD card, select your image and click "Flash"
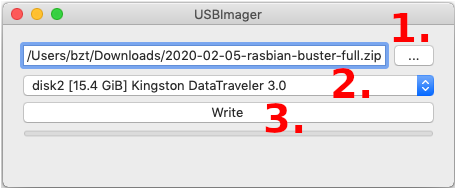
Download USBimager for your operating system and install it.
Plug your SD card, select your image and click "Write"
If you are on GNU/Linux / macOS and know your way around command line, you may also flash your USB stick or SD card with dd. You can identify which device corresponds to your USB stick or SD card with fdisk -l or lsblk. A typical SD card name is something like /dev/mmcblk0. BE CAREFUL and make sure you got the right name.
Then run:
# Replace /dev/mmcblk0 if the name of your device is different...
dd if=/path/to/yunohost.img of=/dev/mmcblk0 status=progress ; sync
Power up the board
- Put the SD card in your board
- Connect your board to your home router via Ethernet
- For advanced users requiring WiFi instead, please follow the official documentation.
- If you want to follow the initial boot, connect a screen and keyboard on your board.
- Power up the board
You can now go through the initial post-install configuration.